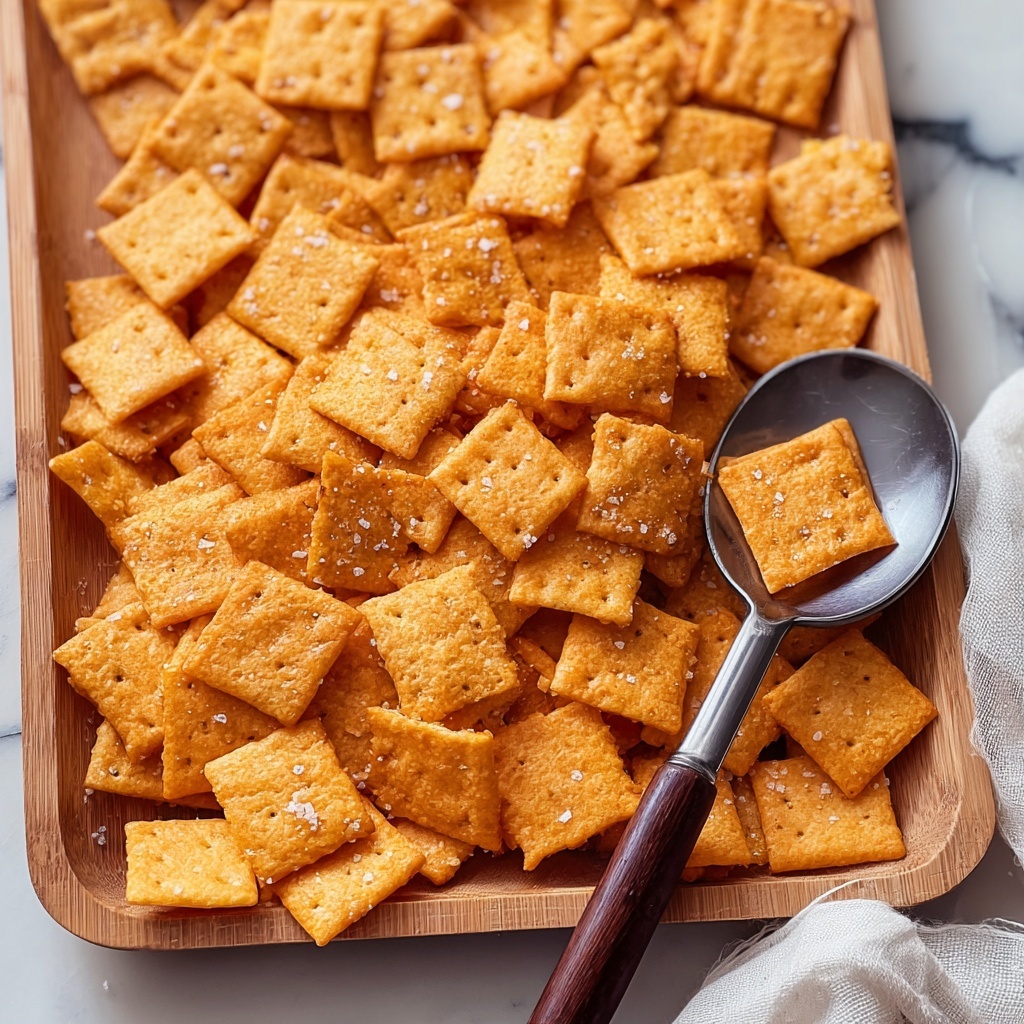
If you have ever dreamed of creating that perfectly crunchy, cheesy snack right at home, I am thrilled to share this Homemade Cheez-Its Recipe with you! These little squares of pure delight are packed with sharp cheddar flavor and a hint of buttery goodness that simply can’t be beat. Making them from scratch not only fills your kitchen with irresistible aromas but gives you full control over every ingredient, making snack time both delicious and satisfying. Whether you’re serving them at a party or indulging on a cozy night in, this recipe is a surefire way to win hearts and cravings alike.
Ingredients You’ll Need
This Homemade Cheez-Its Recipe relies on a handful of simple yet key ingredients that come together to create its signature taste and texture. Each component plays a vital role — from the sharpness of cheddar that delivers bold flavor to the butter that ensures the perfect crispiness.
- Sharp cheddar cheese: Grated fresh for intense, cheesy goodness that defines the flavor profile.
- Unsalted butter: Cold and cubed, it adds a rich, tender texture and helps achieve crisp edges.
- All-purpose flour: The base that holds everything together while keeping the crackers delightfully light.
- Salt: Enhances all the flavors and balances the richness of the cheese and butter.
- Water: Just enough to bring the dough together smoothly without making it sticky.
- Cayenne pepper (optional): A subtle hint of heat for those who love a little kick in their snacks.
How to Make Homemade Cheez-Its Recipe
Step 1: Prepare Your Oven and Baking Sheets
Begin by preheating your oven to 350°F (175°C). This temperature is perfect to toast the little crackers to a beautiful golden brown without burning the cheese. Line two baking sheets with parchment paper to prevent sticking and make cleanup a breeze.
Step 2: Mix Cheese and Butter
In a large mixing bowl, combine your grated sharp cheddar cheese and cold, cubed butter. Use your fingers or a pastry cutter to blend them together until the mixture resembles coarse crumbs. This step ensures that the butter is evenly distributed, which is crucial for the right texture.
Step 3: Add Dry Ingredients
Next, stir in the all-purpose flour and salt. If you’re feeling adventurous and want just a subtle heat, sprinkle in the cayenne pepper now. This little addition brings a surprising depth of flavor that balances the richness, making your Homemade Cheez-Its Recipe truly stand out.
Step 4: Form the Dough
Gradually add the water while mixing, just until a smooth dough forms. Avoid adding too much water, as the dough should be firm but pliable. Once combined, gently knead it on a floured surface to bring it all together without overworking.
Step 5: Roll and Cut
Roll out the dough to about 1/8 inch thick — thin enough to crisp up beautifully. Using a sharp knife or a small cookie cutter, cut into classic squares or any fun shapes you desire. Don’t forget to poke a small hole in the center of each square if you want that authentic Cheez-Its look.
Step 6: Bake and Cool
Arrange your cut pieces on the baking sheets and bake for 15-20 minutes until they turn a gorgeous golden brown. Keep an eye on them to avoid overbaking. Once out of the oven, let the crackers cool completely on a wire rack so they crisp up perfectly. Then get ready to snack away!
How to Serve Homemade Cheez-Its Recipe

Garnishes
While these crackers are fantastic on their own, sprinkling a touch of flaky sea salt, a dusting of smoked paprika, or even a light brush of melted butter with herbs right after baking can elevate their flavor and appearance. These garnishes add an inviting aroma and appeal perfect for any gathering.
Side Dishes
Homemade Cheez-Its shine as a crunchy companion to soups, salads, and dips. Try pairing them with a creamy tomato soup or alongside a fresh veggie platter with hummus or guacamole for a satisfying snack experience that balances textures and tastes.
Creative Ways to Present
Thinking beyond just a snack bowl? Arrange your Homemade Cheez-Its Recipe around a cheese board with assorted nuts, olives, and cured meats. Or serve them stacked in a decorative jar or small paper cones for a fun, rustic party presentation that guests will adore.
Make Ahead and Storage
Storing Leftovers
Your Homemade Cheez-Its will stay crisp and tasty if stored properly. Place them in an airtight container at room temperature, and they should maintain their crunch for up to a week. Avoid storing in the fridge where moisture can soften them.
Freezing
If you want to make a big batch ahead of time, you can freeze unbaked dough wrapped tightly in plastic wrap for up to 2 months. When ready to bake, thaw it overnight in the fridge and proceed with rolling and cutting as usual. Baked crackers do not freeze well, as they lose their crispness.
Reheating
If your crackers have softened a bit, a quick reheat in a 300°F (150°C) oven for 3-5 minutes will refresh them beautifully. Just be careful not to burn them since they’re already fully cooked.
FAQs
Can I use different types of cheese for this Homemade Cheez-Its Recipe?
Absolutely! While sharp cheddar captures the classic flavor, experimenting with cheeses like smoked gouda, parmesan, or pepper jack can add exciting twists. Just make sure they’re firm and grated finely for the best texture.
Is there a gluten-free option for this recipe?
Yes, you can substitute the all-purpose flour with a gluten-free blend, but be mindful of consistency differences. You might need to adjust water quantities slightly to get a smooth dough.
How long do Homemade Cheez-Its last?
When stored in an airtight container at room temperature, these crackers stay fresh and crunchy for about 5 to 7 days, making them perfect for prepping in advance for a week of snacking.
Can I add spices or herbs to the dough?
Definitely! Adding garlic powder, smoked paprika, mustard powder, or dried herbs like thyme or rosemary can introduce new flavor layers. Just add them with the salt before mixing the dough.
What’s the best way to cut the crackers?
Use a sharp knife or pizza cutter to slice the dough into small squares. For a classic look, poke a small hole in the center of each cracker before baking. Alternatively, fun shapes can be made with cookie cutters for a festive touch.
Final Thoughts
There is something incredibly satisfying about making your own snacks from scratch, and this Homemade Cheez-Its Recipe truly hits all the right notes — bold flavor, crisp texture, and irresistibly cheesy goodness. Once you try homemade, you might never go back to store-bought. So roll up your sleeves, gather your ingredients, and get ready to enjoy the best cheesy crackers you’ve ever tasted. Happy baking and snacking!
Print
Homemade Cheez-Its Recipe
- Prep Time: 15 minutes
- Cook Time: 20 minutes
- Total Time: 35 minutes
- Yield: 30 servings
- Category: Snack
- Method: Baking
- Cuisine: American
Description
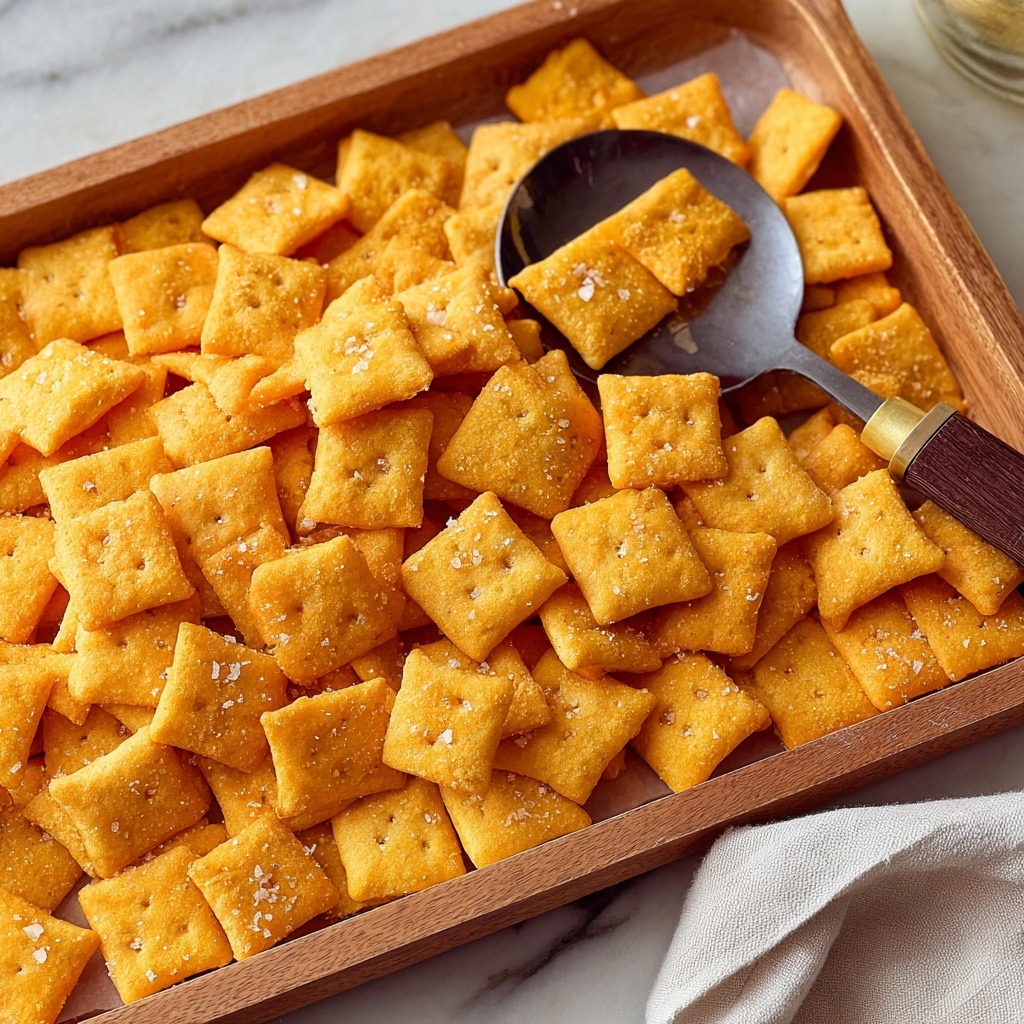
Crispy, cheesy, and homemade, these Cheez-Its are a perfect snack made with sharp cheddar cheese and a hint of cayenne pepper for a subtle kick. Easy to prepare and bake in under 35 minutes, these crackers are ideal for parties, lunchboxes, or anytime cravings.
Ingredients
Cheese and Butter
- 1 cup sharp cheddar cheese, grated
- 1/2 cup unsalted butter, cold and cubed
Dry Ingredients
- 1 cup all-purpose flour
- 1/2 tsp salt
- 1/8 tsp cayenne pepper (optional)
Wet Ingredients
- 3 tbsp water (adjust as needed)
Instructions
- Preheat Oven: Preheat your oven to 350°F (175°C) and line two baking sheets with parchment paper to prevent sticking and ensure even baking.
- Mix Cheese and Butter: In a large mixing bowl, combine the grated sharp cheddar cheese with the cold, cubed unsalted butter. Use your fingers or a pastry cutter to blend until the mixture looks like coarse crumbs.
- Add Dry Ingredients: Stir in the all-purpose flour and salt. If desired, add the cayenne pepper at this stage to add a subtle spicy kick to your crackers.
- Form Dough: Gradually add the water, mixing until a smooth dough forms. Knead gently on a floured surface to bring the dough together without overworking it, which can make the crackers tough.
- Roll and Cut: Roll out the dough to about 1/8 inch thickness. Using a knife or cutter, cut into small squares or your preferred shapes.
- Bake: Arrange the cut dough pieces on the prepared baking sheets, spacing them slightly apart. Bake for 15-20 minutes until the crackers are golden brown and crisp.
- Cool and Serve: Let the crackers cool completely on a wire rack before enjoying, which helps them firm up for perfect crunch.
Notes
- Adjust water quantity as needed; add gradually to avoid a sticky dough.
- Use cold butter to achieve a flaky, tender texture.
- Cayenne pepper is optional but recommended for a subtle heat.
- Store baked crackers in an airtight container to maintain crispness.
- If desired, experiment with other cheese varieties for different flavors.
