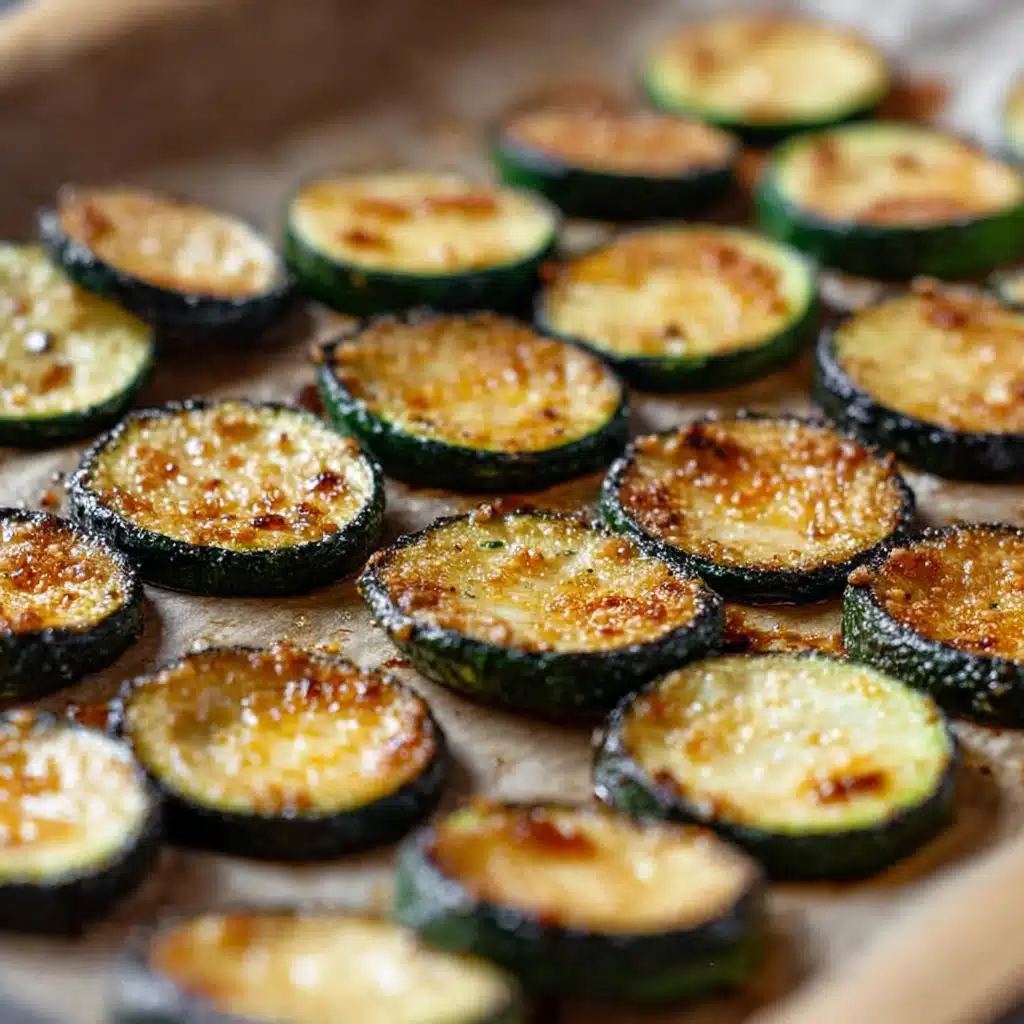
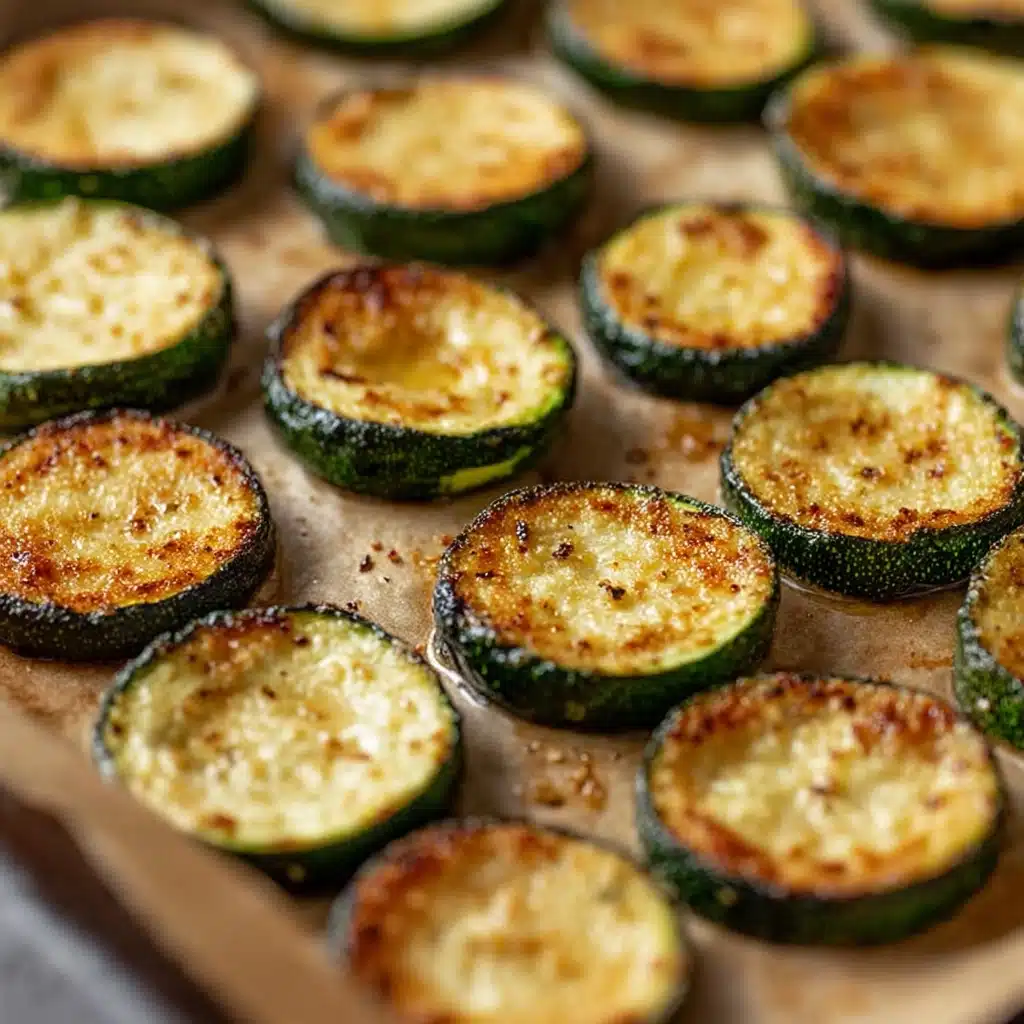
If you’re searching for that tasty snack you can’t seem to put down, look no further than this Crispy Zucchini Chips Recipe. These chips are outrageously crunchy, bursting with savory flavor, and surprisingly wholesome. Whether you need an easy appetizer, a satisfying late-night treat, or a clever way to use up extra zucchini, these chips are guaranteed to become a go-to. With just a handful of everyday ingredients and a simple method, you’ll discover why I keep coming back to these crisp little bites again and again.
Ingredients You’ll Need
The beauty of this Crispy Zucchini Chips Recipe is just how straightforward the ingredient list is. Each ingredient plays an important role—bringing out the zucchini’s natural flavor, providing that irresistible crunch, or delivering a pop of color. Get ready to fall in love with simplicity!
- Zucchini: Slice these as thinly as possible for the best crunch—look for firm, small to medium zucchinis.
- Olive oil: A drizzle before baking helps the chips crisp up beautifully and adds subtle richness.
- Salt: Just a pinch draws out moisture and amplifies the zucchini’s flavor.
- Black pepper: Freshly ground pepper adds a gentle kick and finishes each bite.
- Garlic powder (optional): Adds an extra layer of savory aroma, but you can skip for a milder chip.
- Parmesan cheese (optional): Sprinkle lightly before baking for a salty, nutty finish and golden edges.
How to Make Crispy Zucchini Chips Recipe
Step 1: Prepare and Slice the Zucchini
Start by giving your zucchinis a good rinse and patting them dry. Using a sharp knife or a mandoline, slice them into even, thin rounds—aim for about 1/8-inch thickness. The thinner your slices, the crispier your chips will be! If you’re making a bigger batch, line your slices on a paper towel and dab off any excess moisture to help them bake up extra crunchy.
Step 2: Toss Slices with Oil and Seasonings
In a large bowl, gently toss the zucchini slices with olive oil until every piece is lightly coated. Sprinkle in the salt, pepper, and any optional spices you love (like garlic powder). If you’re adding Parmesan, hold off until just before baking for maximum melt and crisp.
Step 3: Arrange on Baking Sheet
Preheat your oven to 225°F (110°C) and line a baking sheet with parchment paper. Arrange the zucchini slices in a single layer, giving them a little room—no overlapping! For ultimate crispiness, use two sheets if needed. If using Parmesan, now’s the time to sprinkle it over the top.
Step 4: Bake Low and Slow
Pop the trays in the oven and bake for about 1.5 to 2 hours, flipping each chip halfway through. Don’t rush the process—the low temperature is key for drying the zucchini and getting that coveted crunch without burning. Keep an eye on them during the last 15 minutes; once they’re golden and crisp, they’re ready!
Step 5: Cool and Enjoy
Let the chips cool on the baking sheet for a few minutes; they’ll crisp up even more as they sit. Taste and adjust with a tiny extra sprinkle of salt if needed. Now comes the best part—dive in and try not to eat the whole batch in one sitting!
How to Serve Crispy Zucchini Chips Recipe

Garnishes
A simple dusting of flaky sea salt and a pinch of freshly chopped parsley make these chips look as mouthwatering as they taste. For added zing, try a little squeeze of lemon juice or a sprinkle of smoked paprika right after baking.
Side Dishes
The Crispy Zucchini Chips Recipe makes an amazing side for grilled chicken, burgers, or hearty salads. Stack them next to your favorite sandwich for a crunchy upgrade, or serve with a hearty dip like tzatziki, hummus, or even spicy sriracha mayo.
Creative Ways to Present
For a party-worthy snack, pile the chips high in a parchment-lined basket. You can also arrange them in fun spiral stacks or offer an array of dips in the center for sharing. For a unique appetizer, use the chips as edible “spoons” for scooping up fresh salsa or guacamole.
Make Ahead and Storage
Storing Leftovers
If you somehow resist eating all your crispy zucchini chips at once, store any extras in an airtight container at room temperature for up to 2 days. Tuck a piece of paper towel in the container to help absorb moisture and keep them crisp.
Freezing
Freezing isn’t ideal for this recipe, as zucchini chips can become soggy once thawed. Luckily, they’re easy to finish off in one sitting, so you likely won’t have leftovers to freeze!
Reheating
To bring back the crunch, spread the chips in a single layer on a baking sheet and pop them into a 250°F (120°C) oven for about 8 minutes until they crisp up again. Let them cool slightly before snacking.
FAQs
Can I make the Crispy Zucchini Chips Recipe in an air fryer?
Absolutely! Arrange the zucchini slices in a single layer in your air fryer basket and cook at 350°F (175°C) for 8 to 10 minutes, flipping halfway. Keep a close eye since air fryers can crisp things up fast.
Why aren’t my chips crispy?
If your chips turned out soft, they may not have been sliced thinly enough, or there was too much moisture. Make sure to blot the zucchini very well before baking and avoid overlapping slices on the tray.
Can I use yellow squash instead of zucchini?
Yes! Yellow squash works just as well in this recipe. The texture and flavor are similar, and you’ll get a lovely pop of sunny color in your bowl of chips.
How do I prevent the chips from sticking to the baking sheet?
Lining your baking sheets with parchment paper is the trick to ensuring easy flip and removal. If you don’t have parchment, a light spritz of non-stick cooking spray will also do the job.
What are the best dips for Crispy Zucchini Chips Recipe?
I love classic ranch or a cool Greek yogurt dip, but these chips practically beg to be dunked into hummus, spicy harissa, or even a bright marinara. Let your cravings lead the way!
Final Thoughts
Once you try this Crispy Zucchini Chips Recipe, you’ll see just how snackable and satisfying homemade veggie chips can be. They’re crunchy, flavorful, and incredibly fun to make. Let your imagination run wild with seasonings and dips, and share them with everyone you love—though you might want to keep a stash just for yourself!
PrintCrispy Zucchini Chips Recipe
These crispy zucchini chips are a delicious, healthier alternative to traditional potato chips. Thinly sliced zucchini is lightly seasoned, coated with breadcrumbs, and baked until golden and crunchy. They make the perfect snack or appetizer for any occasion, and are a great way to sneak in extra veggies for both kids and adults!
- Prep Time: 10 minutes
- Cook Time: 25 minutes
- Total Time: 35 minutes
- Yield: 4 servings 1x
- Category: Snacks
- Method: Baking
- Cuisine: American
- Diet: Vegetarian
Ingredients
Main Ingredients
- 2 medium zucchinis
- 2 tablespoons olive oil
Breading & Seasoning
- 1/2 cup breadcrumbs (regular or panko)
- 1/4 cup grated Parmesan cheese (optional)
- 1/2 teaspoon garlic powder
- 1/2 teaspoon smoked paprika
- 1/2 teaspoon salt
- 1/4 teaspoon black pepper
Instructions
- Preheat Oven – Set your oven to 425°F (220°C) and line a large baking sheet with parchment paper or lightly grease it. This ensures the chips don’t stick and encourages crispiness.
- Slice Zucchini – Using a mandoline or sharp knife, thinly slice the zucchinis into even, 1/8-inch rounds. Consistent thickness is key for even baking and crispiness.
- Dry the Slices – Pat the zucchini slices dry with paper towels to remove excess moisture. This helps them turn crispy in the oven.
- Prepare Breading Mixture – In a bowl, combine the breadcrumbs, Parmesan (if using), garlic powder, paprika, salt, and black pepper. Mix well to evenly distribute the seasonings.
- Coat the Zucchini – Toss the sliced zucchini in olive oil to lightly coat. Press both sides of each slice into the breadcrumb mixture, ensuring a generous, even coating.
- Arrange and Bake – Lay the coated slices in a single layer on the prepared baking sheet. Bake for 20-25 minutes, flipping halfway through, until golden brown and crisp.
- Cool and Serve – Remove chips from the oven, let cool slightly to finish crisping up, and serve immediately as a snack or appetizer.
Notes
- For best results, use a mandoline for evenly thin slices.
- Watch baking time closely; thinner slices bake faster.
- Sprinkle extra Parmesan or your favorite herbs for extra flavor.
- Store leftovers in an airtight container, but note they’re best enjoyed fresh.
- For a gluten-free version, use gluten-free breadcrumbs.
Nutrition
- Serving Size: 1/4 of recipe
- Calories: 90
- Sugar: 2g
- Sodium: 270mg
- Fat: 4g
- Saturated Fat: 1g
- Unsaturated Fat: 2.5g
- Trans Fat: 0g
- Carbohydrates: 10g
- Fiber: 2g
- Protein: 3g
- Cholesterol: 2mg


