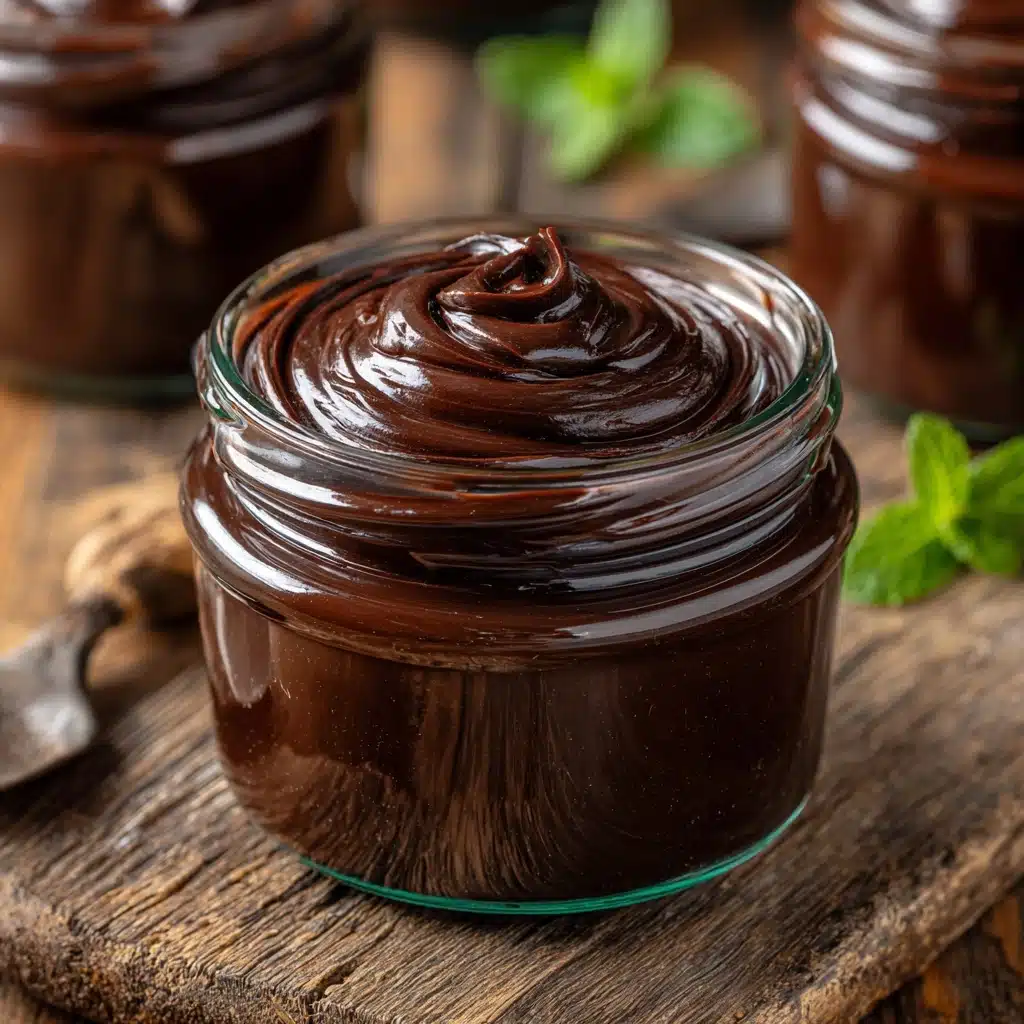
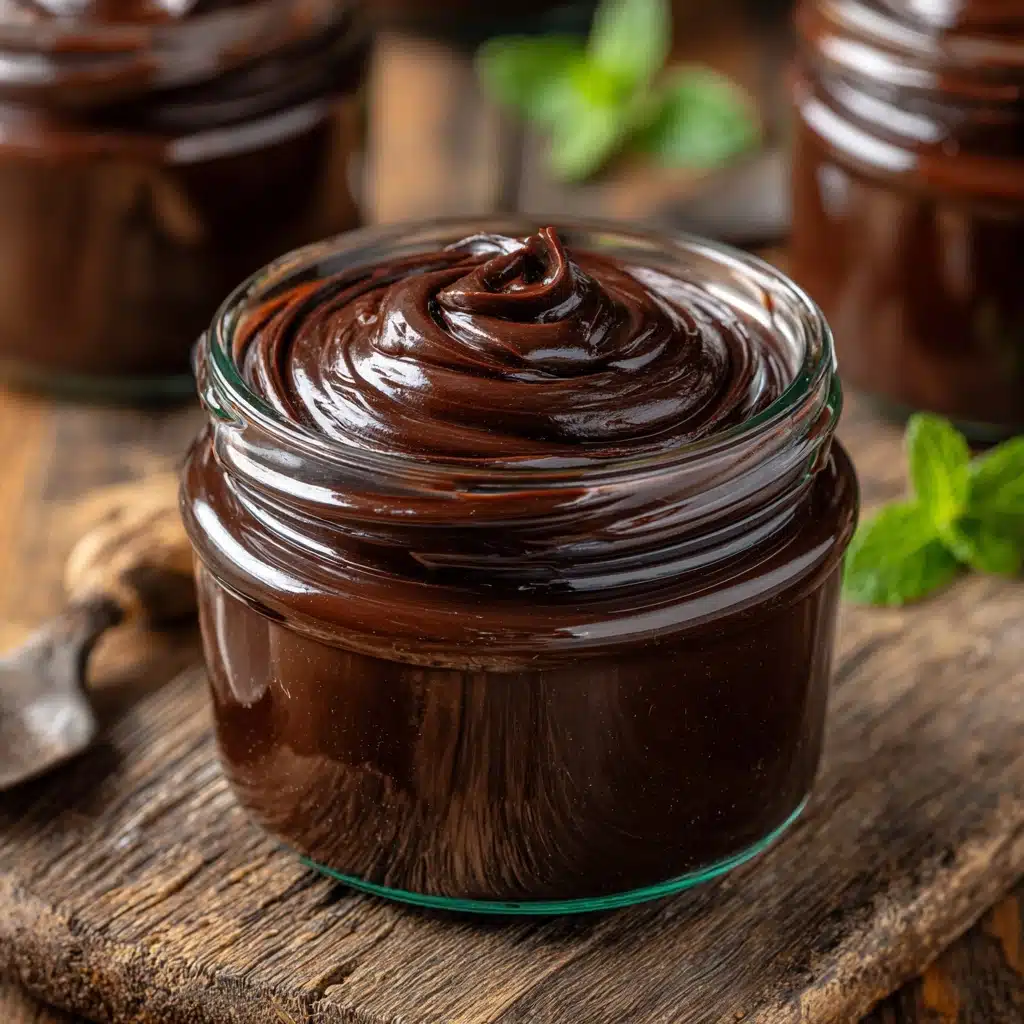
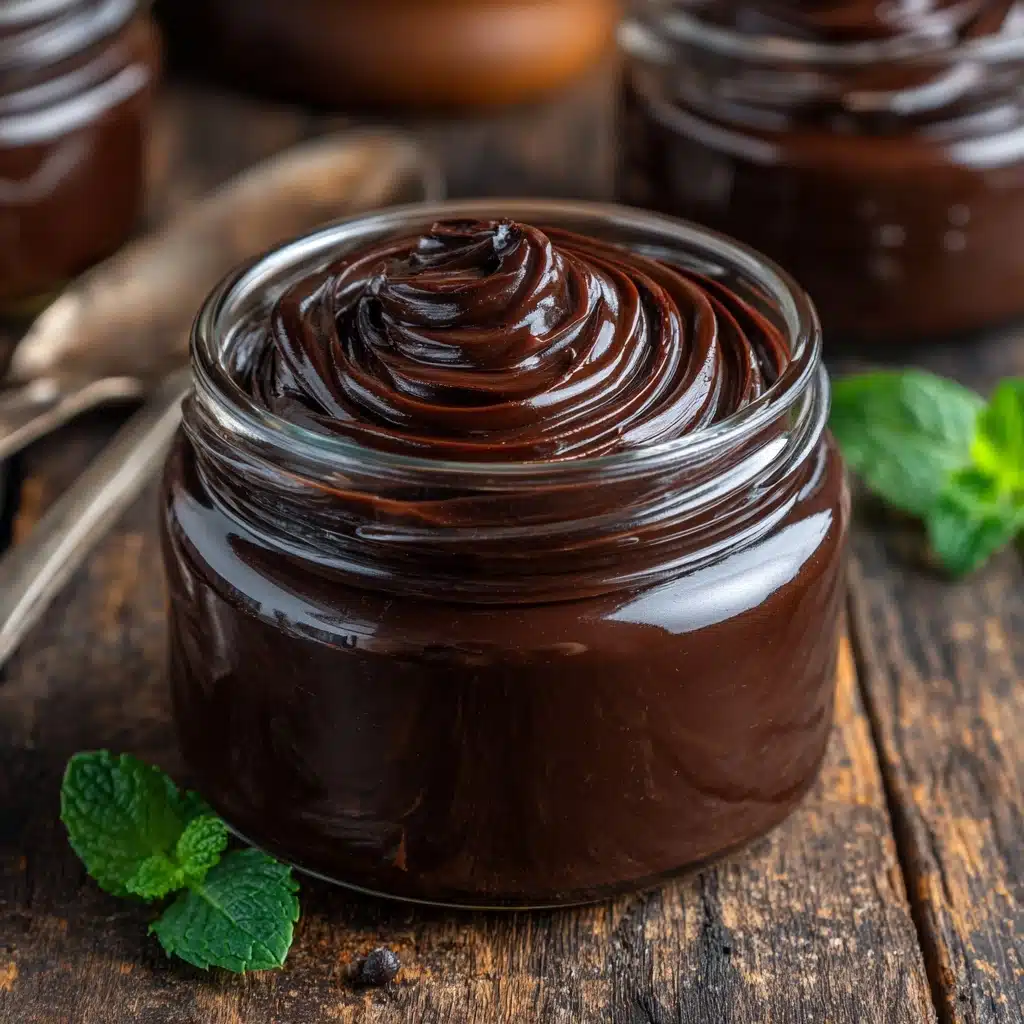
Get ready to fall in love with chocolate all over again, because this Homemade Chocolate Syrup Recipe is truly a pantry hero. With just five simple ingredients and ten minutes of your time, you’ll create a lusciously smooth, deeply chocolatey syrup that’s leaps and bounds above anything you can buy at the store. Whether you’re drizzling it over ice cream, swirling it into milk, or sneaking it by the spoonful, this syrup is as versatile as it is delicious. There’s something magical about watching everyday ingredients transform into a glossy, rich sauce you’ll want to put on everything!
Ingredients You’ll Need
Trust me, each of these kitchen staples truly counts. They work together to build a syrup with unforgettable chocolate flavor, the perfect sheen, and just enough sweetness. Here’s why you shouldn’t skip a single part:
- Unsweetened Cocoa Powder: This is where the deep, true chocolate flavor comes from, and using unsweetened lets you control the sweetness completely.
- Granulated Sugar: Brings just the right amount of sweetness and helps create that classic syrupy texture.
- Water: Seems simple, but it’s the ingredient that binds everything together and creates a pourable consistency.
- Salt: Just a touch enhances all the chocolate notes and keeps your syrup balanced, not flat.
- Pure Vanilla Extract: Stirred in at the end, it adds warmth and rounds out all the bold chocolate flavor.
How to Make Homemade Chocolate Syrup Recipe
Step 1: Whisk Together Dry Ingredients and Water
In a medium saucepan, combine your cocoa powder, sugar, salt, and water. Grab your whisk and really mix it well until the mixture is smooth and lump-free. The key is to incorporate everything thoroughly from the start so your syrup ends up silky and glossy, not grainy or clumpy.
Step 2: Cook and Stir
Turn the heat to medium and keep whisking as the mixture begins to warm up. You’ll see it quickly turn from a dull mixture to a shiny, chocolatey pool. Bring it to a gentle boil, but don’t walk away! Stir constantly to prevent scorching and to help the syrup start thickening.
Step 3: Simmer and Thicken
Once the syrup reaches a mellow boil, reduce the heat so it simmers gently. Keep stirring and let it bubble away for 4 to 5 minutes. Your kitchen will smell heavenly at this point! The syrup will thicken slightly—as it cools, it will become even more luxurious, so don’t worry if it still seems a bit runny now.
Step 4: Add Vanilla and Let Cool
Take the pot off the heat and stir in your vanilla extract. This is when the aroma really blooms and rounds out the sauce. Let the syrup cool completely before pouring it into a glass jar or a squeeze bottle, and store it in the refrigerator.
How to Serve Homemade Chocolate Syrup Recipe

Garnishes
The only limit is your imagination! Top off your desserts with a sprinkle of flaky sea salt, a shower of toasted nuts, or even a scattering of colorful sprinkles for a festive flair. This syrup glistens beautifully on its own, but a little extra touch makes every scoop of ice cream or swirl of whipped cream feel even more special.
Side Dishes
If you’re going all out, pair this syrup with homemade brownies, vanilla pound cake, or a simple bowl of fresh fruit for dipping. It’s also phenomenal as a warm dip for churros, or as a quick fondue for strawberries and marshmallows.
Creative Ways to Present
Turn any treat into something unforgettable by swirling the Homemade Chocolate Syrup Recipe through milkshakes, iced coffees, or frappés. For a playful touch, use a squeeze bottle to pipe hearts or fun designs onto plates before serving cake. Or fill tiny jars and give them as a heartfelt homemade gift—the shiny, dark syrup just begs to be shared.
Make Ahead and Storage
Storing Leftovers
Once your syrup has cooled completely, keep it in a tightly sealed jar or bottle in the refrigerator. Stored this way, the Homemade Chocolate Syrup Recipe maintains its flavor and pourable consistency for up to three weeks. A quick shake or stir before use will restore its silky texture if it starts to settle.
Freezing
While you can freeze chocolate syrup, it’s honestly so quick to make fresh that you might not need to! If you do want to freeze it, pour the syrup into a freezer-safe container with some room at the top for expansion. Thaw overnight in the fridge and stir well before using. The flavor and texture should remain delightful.
Reheating
To serve the syrup warm (perfect for drizzling!), simply microwave it for 10 to 15 seconds or heat it gently on the stove, stirring frequently. Just avoid boiling it again, as that can change the texture. Warm chocolate syrup turns any scoop of ice cream or fresh fruit into a showstopper.
FAQs
Can I use Dutch-processed cocoa instead of regular cocoa?
Absolutely! Dutch-processed cocoa will give the Homemade Chocolate Syrup Recipe a slightly deeper, smoother flavor and a darker color. Either type Condiment.
Is this syrup thick enough for ice cream sundaes?
Yes, the syrup thickens up nicely as it cools. For an even thicker syrup, you can simmer it for an additional minute or two. Keep in mind that it pours easily when warm and thickens in the fridge, making it perfect for drizzling over ice cream.
Can I make this recipe sugar free?
You can try using your favorite granulated sugar substitute, such as erythritol or a baking blend. Keep in mind that sugar impacts both flavor and texture, so results may vary slightly. Adjust to taste and enjoy a homemade chocolate syrup recipe that suits your preferences!
Will this work as hot chocolate syrup in milk?
Definitely! Just spoon some syrup into warm milk and stir until dissolved. For cold chocolate milk, simply stir it into cold milk, but give it a little extra whisk to combine fully. It’s a kid-friendly treat and a nostalgic comfort drink in one.
How can I make the syrup even richer?
For a decadent twist, use dark cocoa powder, or stir in a small pat of vegan butter right after removing the syrup from the heat. This will boost the body and make your homemade chocolate syrup recipe even more irresistible!
Final Thoughts
If you’ve never made your own chocolate syrup before, this is the place to start—and I can almost guarantee you’ll never look back. Try this Homemade Chocolate Syrup Recipe, and watch an ordinary dessert transform into something unforgettable. Treat yourself and those you love to the richest, shiniest, most delicious chocolate syrup ever—straight from your own kitchen.
PrintHomemade Chocolate Syrup Recipe
Indulge in the rich, decadent flavor of this homemade chocolate syrup. Perfect for drizzling over ice cream, stirring into milk, or adding to coffee drinks, this versatile syrup is a must-have for any chocolate lover.
- Prep Time: 5 minutes
- Cook Time: 5 minutes
- Total Time: 10 minutes
- Yield: 1 1/4 cups (about 10 servings) 1x
- Category: Condiment
- Method: Stovetop
- Cuisine: American
- Diet: Vegan, Gluten-Free
Ingredients
Dry Ingredients:
- 1 cup unsweetened cocoa powder
- 1 cup granulated sugar
- 1/4 teaspoon salt
Liquid Ingredients:
- 1 cup water
- 1 teaspoon pure vanilla extract
Instructions
- Combine Ingredients: In a medium saucepan over medium heat, whisk together the cocoa powder, sugar, salt, and water until smooth.
- Bring to Boil: Bring the mixture to a gentle boil, stirring constantly.
- Simmer: Reduce the heat and let it simmer for 4 to 5 minutes, stirring until slightly thickened.
- Add Vanilla: Remove from heat and stir in the vanilla extract.
- Cool and Store: Let the syrup cool completely before transferring to a glass jar or bottle. Refrigerate for up to 3 weeks.
Notes
- For a richer flavor, use dark cocoa powder.
- This syrup is perfect for various uses like drizzling over desserts or adding to beverages.
Nutrition
- Serving Size: 2 tablespoons
- Calories: 70
- Sugar: 14g
- Sodium: 60mg
- Fat: 1g
- Saturated Fat: 0.5g
- Unsaturated Fat: 0.3g
- Trans Fat: 0g
- Carbohydrates: 17g
- Fiber: 2g
- Protein: 1g
- Cholesterol: 0mg


