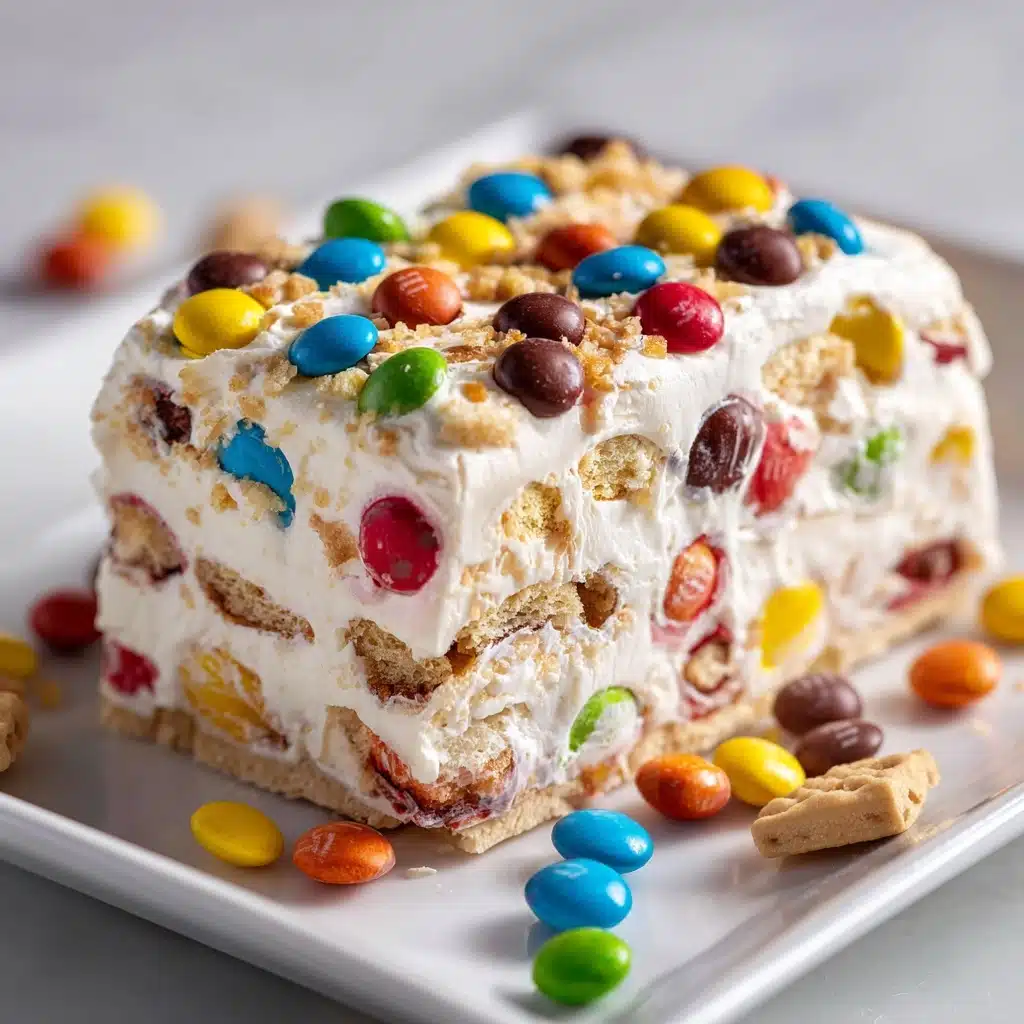
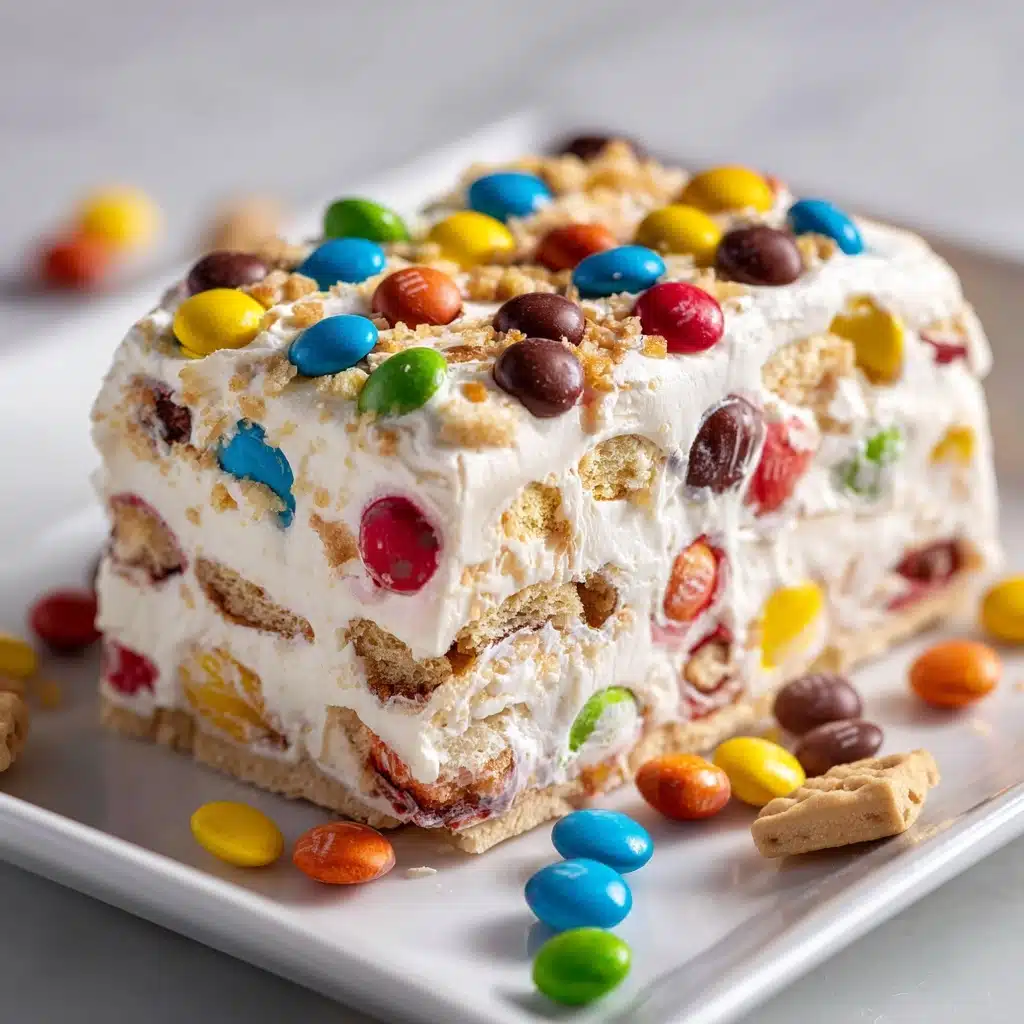
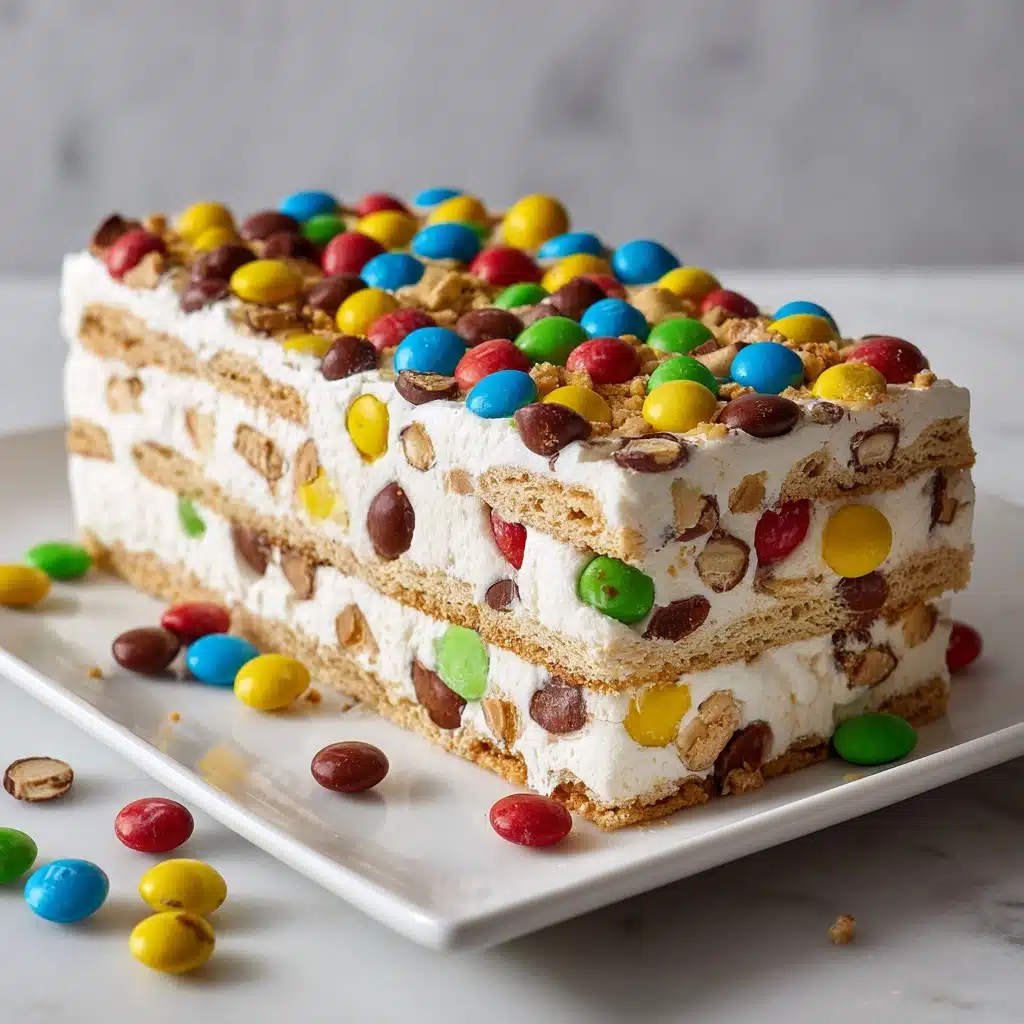
Let me introduce you to the Easy M&M Ice Cream Sandwich Cake Fun Recipe, a show-stopping, no-bake treat that instantly transforms every gathering into a party. Imagine layers of creamy vanilla ice cream sandwiches, clouds of fluffy whipped topping, rich chocolate syrup, and a rainbow of crunchy mini M&M’s all coming together in one slice. This cake is not just irresistibly delicious, but it’s also a breeze to assemble—no oven or complicated steps required. Whether you’re making dessert for a summer barbecue, a birthday, or just a regular Tuesday, this playful confection will have everyone asking for seconds (and the recipe!).
Ingredients You’ll Need
-
12 Vanilla Ice Cream Sandwiches:
- 12 vanilla ice cream sandwiches
Whipped Topping Layer:
- 1 ½ cups whipped topping (such as Cool Whip), thawed
M&M’s Layer:
- 1 cup mini M&Ms
Chocolate Syrup Layer:
- ½ cup chocolate syrup
Sprinkles (optional):
- ¼ cup sprinkles
How to Make Easy M&M Ice Cream Sandwich Cake Fun Recipe
Step 1: Create the Base Layer
Start by unwrapping all of your ice cream sandwiches—don’t be tempted to sneak a bite just yet! Lay 6 sandwiches side by side on a flat serving platter so they touch and form a solid rectangle. This step sets up a sturdy foundation for your cake that slices beautifully later.
Step 2: Layer with Whipped Topping and Chocolate Syrup
Dollop half of the whipped topping onto your base layer. With a spatula or the back of a spoon, gently spread it to cover all the sandwiches, right up to the edges. Follow with a drizzle of half the chocolate syrup—get a little swirly for fun!—and then scatter half of your mini M&M’s all over for pops of color and texture.
Step 3: Repeat the Layers
Place the remaining 6 ice cream sandwiches directly on top of your first layer, matching them up as well as possible for a tidy look. Repeat the process: spread the rest of the whipped topping evenly, drizzle the rest of that glossy chocolate syrup, and then crown your creation with the remaining mini M&M’s. If you’re feeling extra festive, shower the top with colorful sprinkles!
Step 4: Freeze to Set
Gently cover your assembled cake with foil or plastic wrap, leaving some room so the topping doesn’t get squished. Pop the whole thing into the freezer and let it firm up for at least 2 hours, or until solid. This step ensures the layers meld together and every slice holds its shape perfectly.
Step 5: Slice and Serve
Once your Easy M&M Ice Cream Sandwich Cake Fun Recipe is set, remove it from the freezer just before serving. Slice it into squares with a sharp knife (running it under hot water first helps!) and watch faces light up with delight. Serve immediately for the ultimate frosty treat!
How to Serve Easy M&M Ice Cream Sandwich Cake Fun Recipe

Garnishes
For a finishing flourish, let your creativity shine! Sprinkle extra mini M&M’s, chocolate shavings, crushed cookies, or even a drizzle of caramel on top. Fresh berries or a dusting of cocoa powder also make beautiful, tasty additions. Kids especially love choosing their own toppings, so set up a mini-garnish bar if you want to add some interactive fun.
Side Dishes
Balance the creamy sweetness of your Easy M&M Ice Cream Sandwich Cake Fun Recipe with a fresh fruit salad or sliced seasonal berries. For extra decadence, serve with a small scoop of vanilla or chocolate ice cream on the side, or offer up chilled glasses of milk or iced coffee for grown-ups.
Creative Ways to Present
Turn your cake into a centerpiece by assembling it on a pretty platter lined with parchment, or build individual mini cakes using half sandwiches for a personalized treat. For themed occasions, use coordinating candy colors or edible decorations. Slice at the table so everyone can admire those colorful layers and revel in the satisfying “wow!” factor.
Make Ahead and Storage
Storing Leftovers
If you have extra slices (lucky you!), wrap them individually in wax paper or foil, then place in an airtight container. Keep them tucked away in the freezer—they’ll stay delicious for up to a week, making for an easy grab-and-go dessert.
Freezing
The Easy M&M Ice Cream Sandwich Cake Fun Recipe is tailor-made for freezing. Just ensure it’s covered or sealed tightly to prevent freezer burn and absorption of any stray freezer aromas. For best results, label with the date so you’ll know how long it’s been chilling out.
Reheating
No actual reheating is needed (in fact, please don’t!), but if you want a slightly softer slice, let the cake sit at room temperature for about 5 to 10 minutes before cutting. This makes slicing easier and gives just the right creamy texture.
FAQs
Can I use chocolate or other flavored ice cream sandwiches?
Absolutely! Chocolate, neapolitan, or even specialty flavors add a twist to your Easy M&M Ice Cream Sandwich Cake Fun Recipe. Mix and match for extra fun or to suit your crowd’s taste.
Can I make this dessert in advance?
Yes, you can assemble the cake up to three days ahead. Just keep it covered and frozen until ready to serve. It actually sets better if chilled overnight!
Are there dairy-free or vegan options?
Many supermarkets now offer dairy-free ice cream sandwiches and whipped toppings. Substitute those for the traditional versions, and check that your chosen chocolate syrup and M&M-style candies are vegan-friendly.
How do I keep the cake from sticking to the serving platter?
To avoid sticking, line your platter with a sheet of parchment or wax paper before assembling the cake. This makes slicing and serving quick and mess-free!
What’s the best way to cut neat slices?
Run a sharp knife under hot water, wipe it dry, and then cut through the frozen cake in confident strokes. Clean the blade between slices for picture-perfect results every time.
Final Thoughts
If you’re looking for a delightfully easy, colorful, and crowd-pleasing dessert, you can’t go wrong with this Easy M&M Ice Cream Sandwich Cake Fun Recipe. It’s pure joy in every bite and a surefire way to create happy memories, no matter the occasion. Gather your ingredients and give it a try—you’ll love how simple and special it feels!
PrintEasy M&M Ice Cream Sandwich Cake Fun Recipe
Indulge in the ultimate summer treat with this Easy M&M Ice Cream Sandwich Cake. Layers of vanilla ice cream sandwiches, whipped topping, M&M’s, and chocolate syrup come together to create a fun and delicious no-bake dessert that’s perfect for any occasion.
- Prep Time: 10 minutes
- Cook Time: 0 minutes
- Total Time: 2 hours 10 minutes
- Yield: 12 servings 1x
- Category: Dessert
- Method: Freezing
- Cuisine: American
- Diet: Vegetarian
Ingredients
12 Vanilla Ice Cream Sandwiches:
- 12 vanilla ice cream sandwiches
Whipped Topping Layer:
- 1 1/2 cups whipped topping (such as Cool Whip), thawed
M&M’s Layer:
- 1 cup mini M&Ms
Chocolate Syrup Layer:
- 1/2 cup chocolate syrup
Sprinkles (optional):
- 1/4 cup sprinkles
Instructions
- Arrange Ice Cream Sandwiches: Unwrap the ice cream sandwiches and arrange 6 of them side by side on a flat serving platter to form the base layer.
- Add Whipped Topping: Spread half of the whipped topping evenly over the sandwiches.
- Layer M&M’s and Chocolate Syrup: Drizzle half of the chocolate syrup and sprinkle half of the M&Ms over the whipped topping.
- Repeat Layers: Repeat the layers with another 6 ice cream sandwiches, remaining whipped topping, chocolate syrup, and M&Ms.
- Top and Freeze: Finish with the remaining whipped topping, chocolate syrup, M&Ms, and sprinkles. Cover and freeze for at least 2 hours until firm.
- Serve: Slice and serve straight from the freezer.
Notes
- You can customize this cake by using different flavors of ice cream sandwiches or swapping in crushed cookies or caramel sauce for a unique twist.
- For themed events, try using color-coordinated M&Ms to match your party decor.
Nutrition
- Serving Size: 1 slice
- Calories: 280
- Sugar: 21g
- Sodium: 150mg
- Fat: 12g
- Saturated Fat: 7g
- Unsaturated Fat: 4g
- Trans Fat: 0g
- Carbohydrates: 38g
- Fiber: 1g
- Protein: 3g
- Cholesterol: 20mg


